Here I am, fashionably late to the cryptocurrency mining party. I have memories of trying to set up Bitcoin mining on my computer many years ago but getting bored pretty quickly, giving up, and forgetting about it. Ah well, hindsight is a glorious thing.
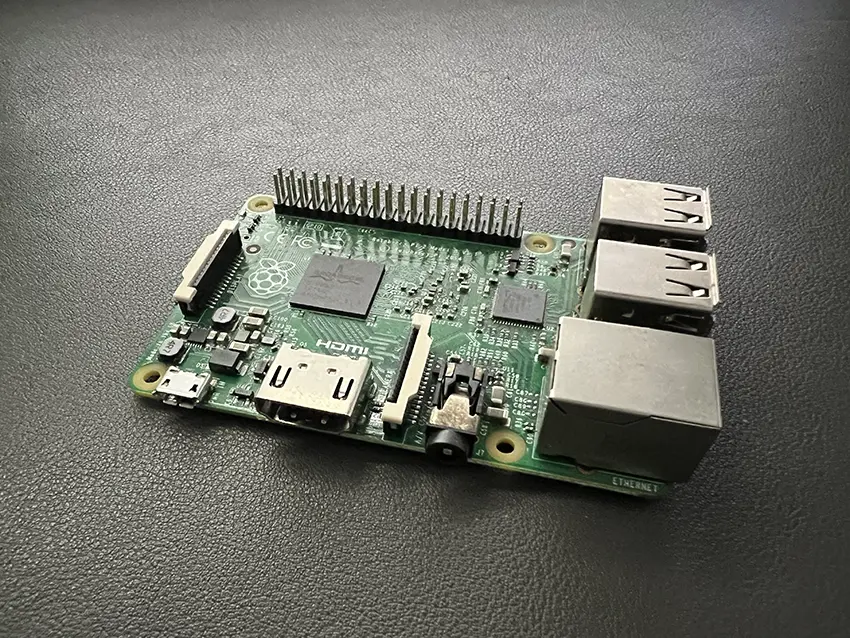
Nevertheless, I’ve recently purchased a FutureBit Moonlander 2 just out of interest. A FutureBit Moonlander 2 is a USB Scrypt miner that doesn’t really need much in the way of power or hardware resources to get to work. Fortunately I have a spare Raspberry Pi 2 knocking about that I’m going to utilise for this. Though I’m fully aware that I’m unlikely to make much (or any) money with this, I’m going to document my first venture on the world of mining.
First up: Configuring the Raspberry Pi

Start with all the good stuff in raspi-config such as memory split and filesystem expansion and then run the other usual commands to get everything running the latest versions:
sudo apt update
sudo apt upgrade -y
Install all the nescessary bits for the Moonlander 2:
sudo apt-get install -y libcurl4-gnutls-dev libjansson-dev libncurses5
Make directory moonlander2 and move into it:
mkdir -p moonlander2; cd moonlander2
wget https://github.com/jstefanop/bfgminer/releases/download/bfgminer-5.4.2-futurebit2/bfgminer_5.4.2-futurebit2_linux_armv6.tar.gz
Decompress file and move into the directory:
tar -xzf bfgminer_5.4.2-futurebit2_linux_armv6.tar.gz
cd bfgminer_5.4.2-futurebit2_linux_armv6
Sign up with Prohashing
You’ll need a pool that your miner can communicate with to find blocks to work on. I’ve been using Prohashing and it’s proven to be very reliable. By default, Prohashing will automatically switch which coin you’re mining, depending on what will get you the most profit.
I’ve also been using CoinBase to manage my wallets.
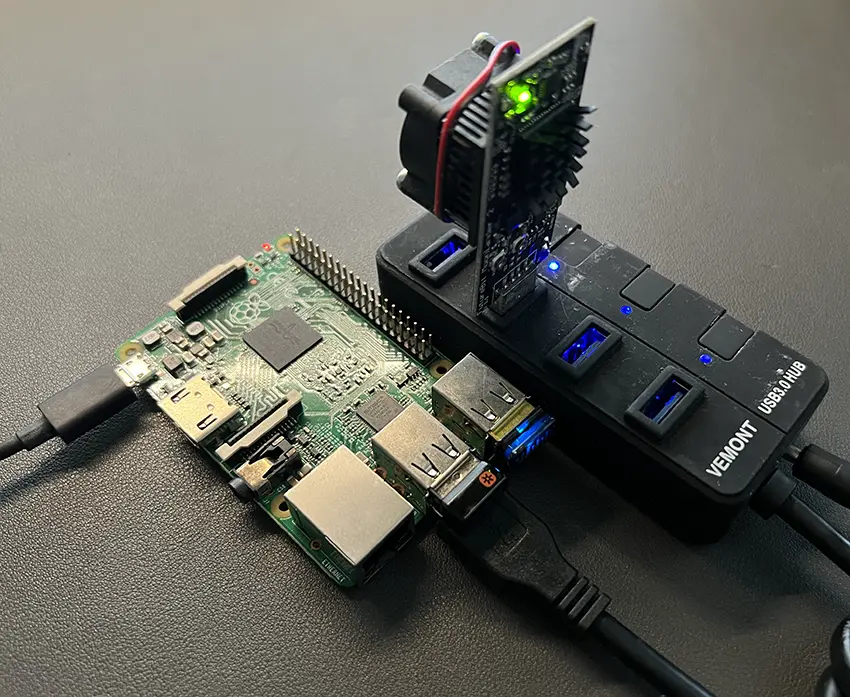
Now it’s time to connect your Moonlander 2

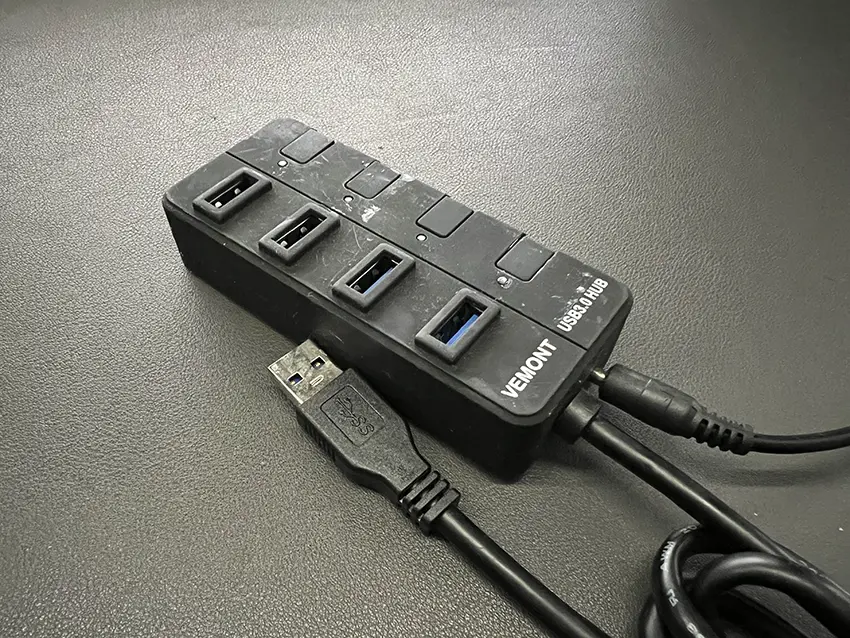
The Raspberry Pi 2 won’t provide enough power over the USB ports for the Moonlander to do its thing, therefore you’re going to have to use an external powered hub. It’s recommended to have at least 1A per device. I picked up a hub pretty cheaply on Amazon.
Apply your mining settings
Edit the mining script with nano:
sudo nano start_moonlander2.sh
You’ll need to go through and configure this file with your own settings but here are the contents of my start_moonlander2.sh file to get you started:
./bfgminer --scrypt -o stratum+tcp://eu.mining.prohashing.com:3333#skipcbcheck -u jonners321 -p "n=PiMoonlander i=moon2" -S MLD:all
If you have more than one Moonlander connected to your hub then it should automatically detect all of them.
Once you’ve set up the script with your own settings it’s finally time to …
Start mining!
Run the script to start. You might want to run this inside a screen so that mining continues when you disconnect from the Pi’s terminal.
./start_moonlander2.sh
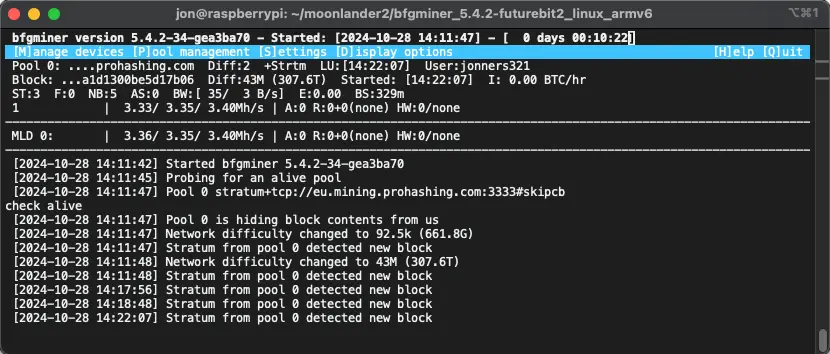
After a few seconds you will see LEDs come to life on the Moonlander stick and communication going on between your Pi and the pool. After a few seconds, the Moonlander should start mining.

… and that’s it. We’re mining!

You can now check in on your Prohashing dashboard to see that you have a device mining on your account.
How is mining on the Moonlander 2 working out for you? Drop a comment below to let me know!
If you found this guide useful, please consider buying me a coffee.

thanks. this helped me set up. only thing there must be an easier way to start mining , seems i have to go through the following steps every time ?
cd moonlander2
cd bfgminer_5.4.2-futurebit2_linux_armv6
then finally : ./start_moonlander2.sh
must be an easier way
tried just double clicking on “start moonlander” but does not work
thanks again
I ended up writing a shell script to start the miner.
In your home directory put this in to a file called moonlander2.sh
#!/bin/sh
cd moonlander2
cd bfgminer_5.4.2-futurebit2_linux_armv6
./start_moonlander2.sh
You’ll then need to give it executable permissions (chmod +x moonlander2.sh) then you’re good to go!
#!/bin/sh
/home/pi/moonlander2/bfgminer_5.4.2-futurebit2_linux_armv6/start_moonlander2.sh
Have got everything working now on a raspberry pi 2 / Fuze / Moonlander 2
in the log in scrip i did not put password in for second worker
Many thanks for your set up tutorial : it is the only one that works !
One question : there has been a bfg miner update … will that run on raspberry 2 and how to we install with out messing everything up ?
I’m not too sure about this as I’ve not done the update. I’ll have to check it out and let you know.
Hi . Just set up a new worker with 2 MoonLander2.
Initially I went to Bitshopper.de : DOES NOT WORK
Tried official moonlander page: DOES NOT WORK
Then started again with your website = BINGO
Works.
This is crazy can’t just be you with a workable for dummies moonlander set up ?
I am having the same issues with Gekko 2PAC … any chance you could work your magic ? Bitshopper.de supplier instructions just don’t work on a raspberry pi.
Thanks for Moonlander2 . Bitshopper + Moonlander + Bitcoin talk should have your instructions
Hey, glad this worked for you. When I set mine up I struggled to find any working instructions so I pieced this together from a few different sources.
There’s a chance that I could work something out with the Gekko 2PAC but I don’t have access to one!
your update … was much easier 2nd time round
I just follow instructions / copy paste into terminal bash
I think somewhere I did go onto silabs to download drivers
but otherwise just copied paste your tutorial
then pointed my miners towards NYC
easy
How much money can one expect to get per day using this type of setup?
I’m not too sure but it’s not going to be too much I’m afraid!
Hi,
i followd this steps but i get:
./bfgminer: error while loading shared libraries: libncurses.so.5: cannot open shared object file: No such file or directory
any tips?
thx
Hey, sorry it’s taken me so long to get back to you. I’ve just looked in to this and you’ll need to install something extra;
sudo apt-get install -y libncurses5Install that and try again.
..hi..i made this install step by step..when i want to run ./start_moonlander2.sh an error is coming…/bfgminer :error loading shared
libraries: libncurse.so.5 :cannot open shared object files:no such file or directory..can you help me with this please..
Hey, sorry it’s taken me so long to get back to you. I’ve just looked in to this and you’ll need to install something extra;
sudo apt-get install -y libncurses5Install that and try again.
..hi..i have an issue..when i try to ./start_moonlander2.sh = cant load libncurses.so.5=no such file or directory..i need to install something more!?
Hey, sorry it’s taken me so long to get back to you. I’ve just looked in to this and you’ll need to install something extra;
sudo apt-get install -y libncurses5Install that and try again.
Make sure OS is 32 bit…..